2024 년 11 월 Genshin 충격 코드 및이를 상환하는 방법
2024 년 11 월 Genshin Impact 코드, 5.1 라이브 스트림 코드를 통해 무료 Primogems, Mora, Experience 등을 받고 활성 코드를 사용하는 방법을 찾으십시오.
Fisch의 Northern Expedition Update는 2024 년 12 월 21 일에 떨어졌으며 모험가들이 우리가 알고있는 정규 바다의 일부가 아닌 모험가들이 탐구 할 별도의 지역을 소개했습니다. This icy expanse brings new challenges, valuable items, and difficult terrain for those daring enough to brave it.
| 특징 | 세부 |
|---|---|
| Bestiaries | Overgrowth Cave, Frigid Cavern, Cryogenic Canal, Glacial Grotto. |
| 물고기 | 36 new species. |
| 막대 | Arctic Rod, Avalanche Rod, Crystalized Rod, Ice Warpers Rod, Summit Rod, Heaven's Rod. |
| Fish Mutations | 4 new mutations. |
| Totems | Avalanche Totem and Blizzard Totem. |
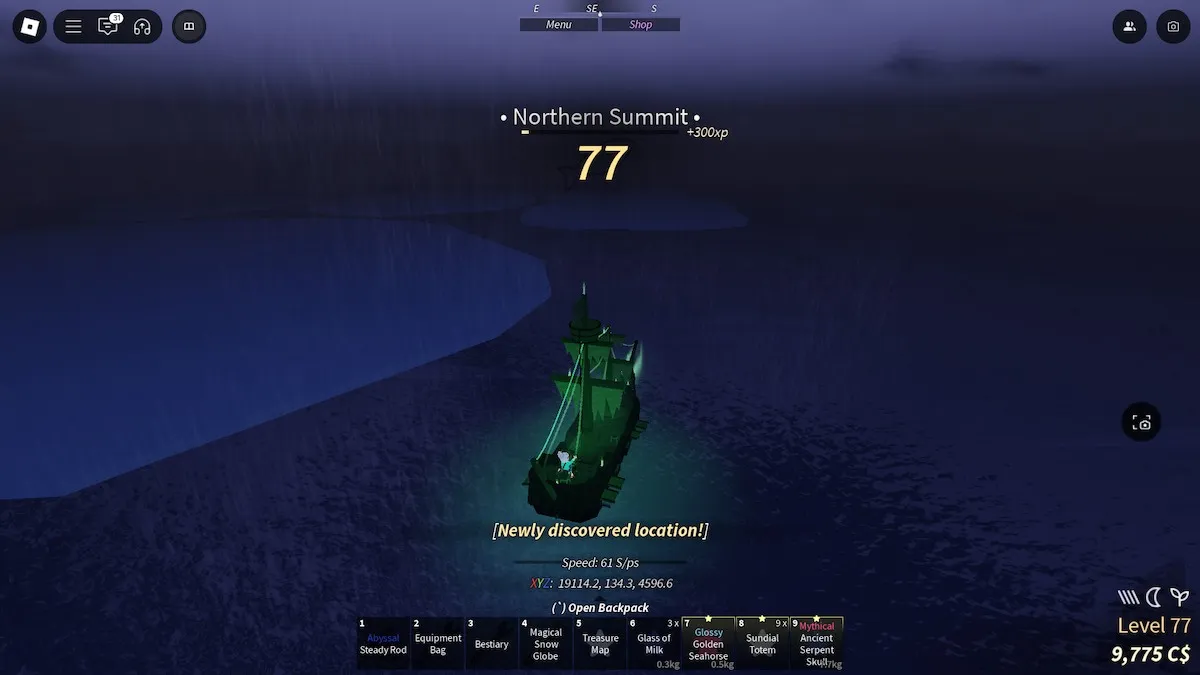
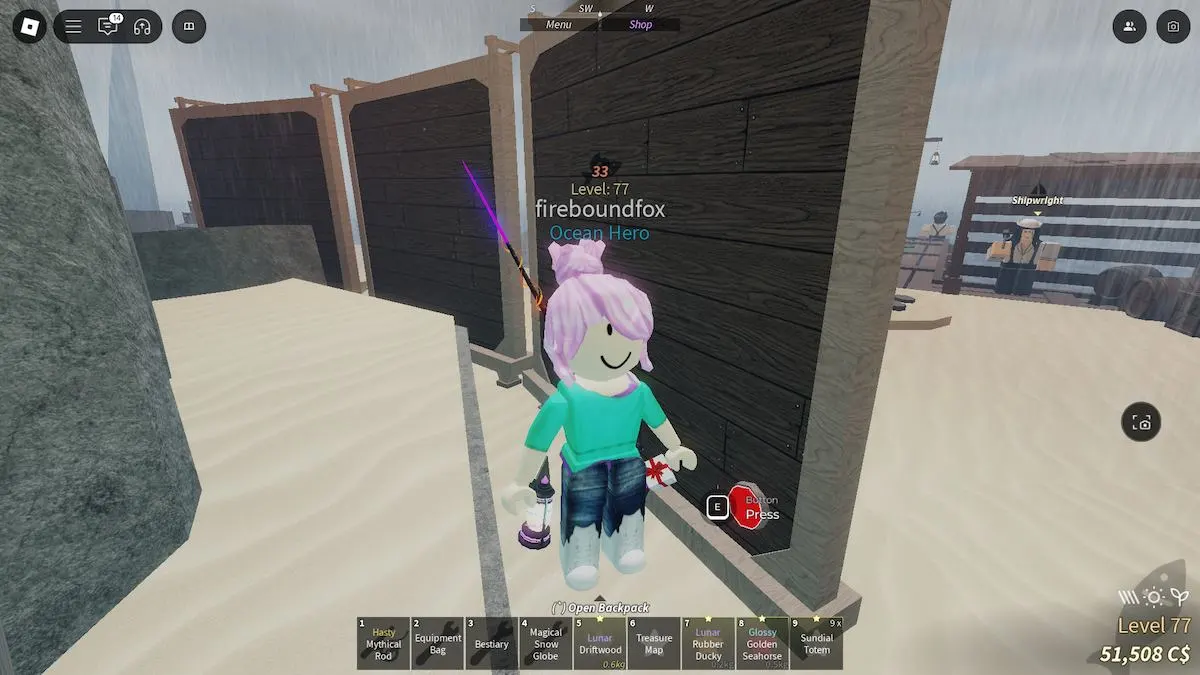
To get to the new island, you need to find the marker in your game that says " Northern Expedition " and sail towards it. You can find in between Terrapin Island and the Forsaken Shores , at coordinates (-1730, 138, 3824) . Sail south-southwest from Moosewood and you'll find the portal . After entering the portal, you'll be transported to a new ocean with just two markers - Northern Expedition and Exit of the Expedition. Sail towards the Northern Expedition marker and you'll quickly find the " Northern Summit ", which is the island for this update.
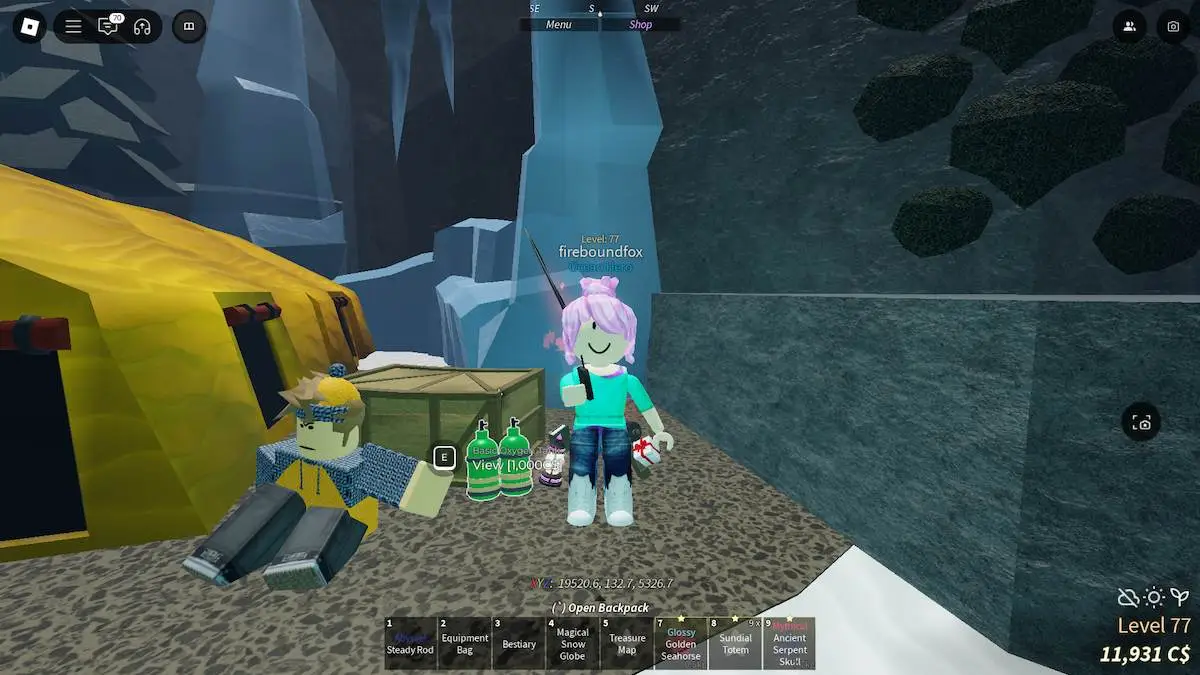
After reaching the island, you'll notice there's no pier to dock your boat. You'll likely abandon your boat in the ice before making your way inland. Your first priority should be purchasing a Basic Oxygen Tank for 1,000C$ , which is next to the NPC to the right of the Merchant. This will allow you to survive the higher elevations of the mountain, where oxygen levels begin to drop.
Here is a guide that will take you up the Northern Summit and into the other areas of the mountain:
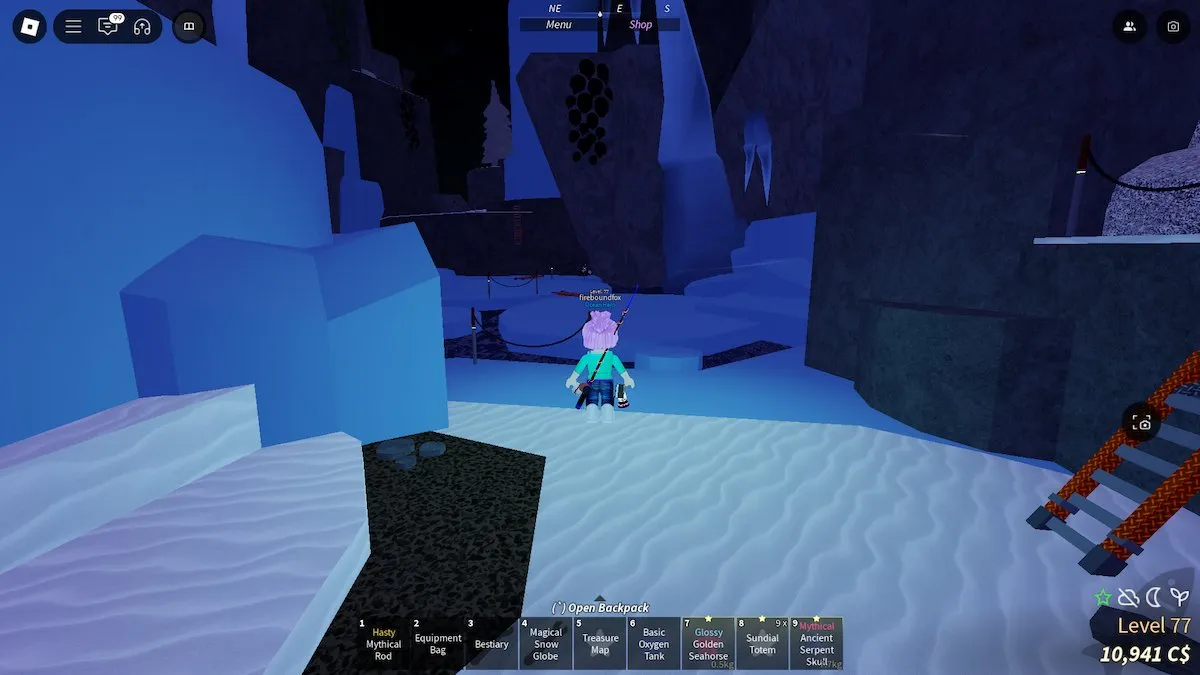
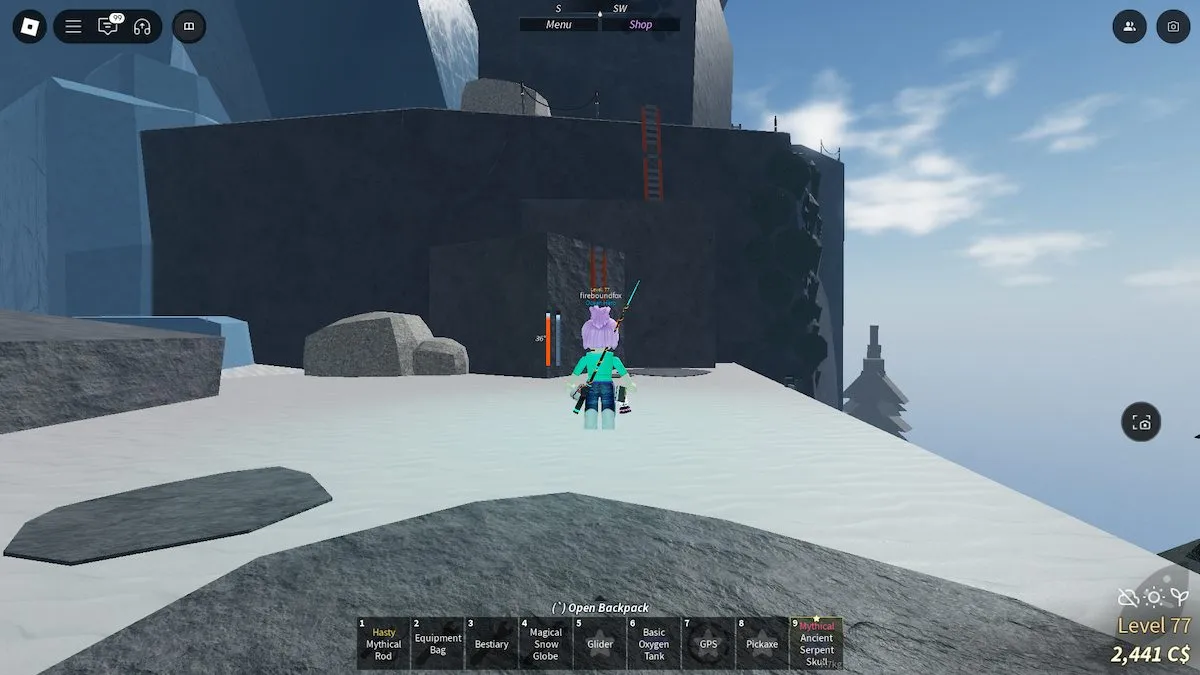
Take the path to the left that leads across ladders and ice. Follow the path up the mountain, keeping an eye out for ladders, which act as markers for the trail.
두 번째 캠프 (첫 번째 캠프는 기본 산소 탱크를 구입 한 첫 번째 캠프)를 볼 때 약간의 왼쪽을 가져 가서 더 많은 사다리를 찾아 올라가서 산의 앞쪽을 자르는 경사로 로 우회전하십시오 .
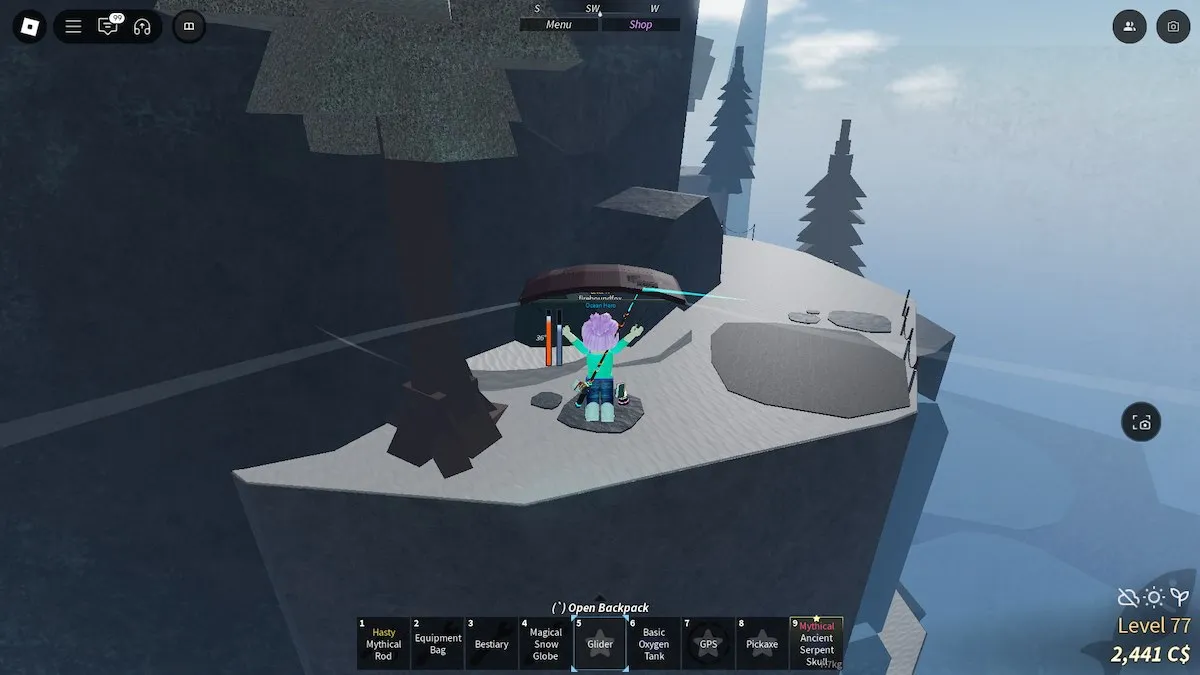
Walk up the ramp to find more ladders to climb, and then continue across the platform . There's a weird drop in the path here that's easy to fall from if you jump. 당신의 글라이더를 사용하여 넘어지지 않도록하십시오. 당신이해야 할 것 같지 않지만, 나는 산을 뒤로 떨어 뜨릴 수 있었고 다시 일어나는 것이 지루합니다.
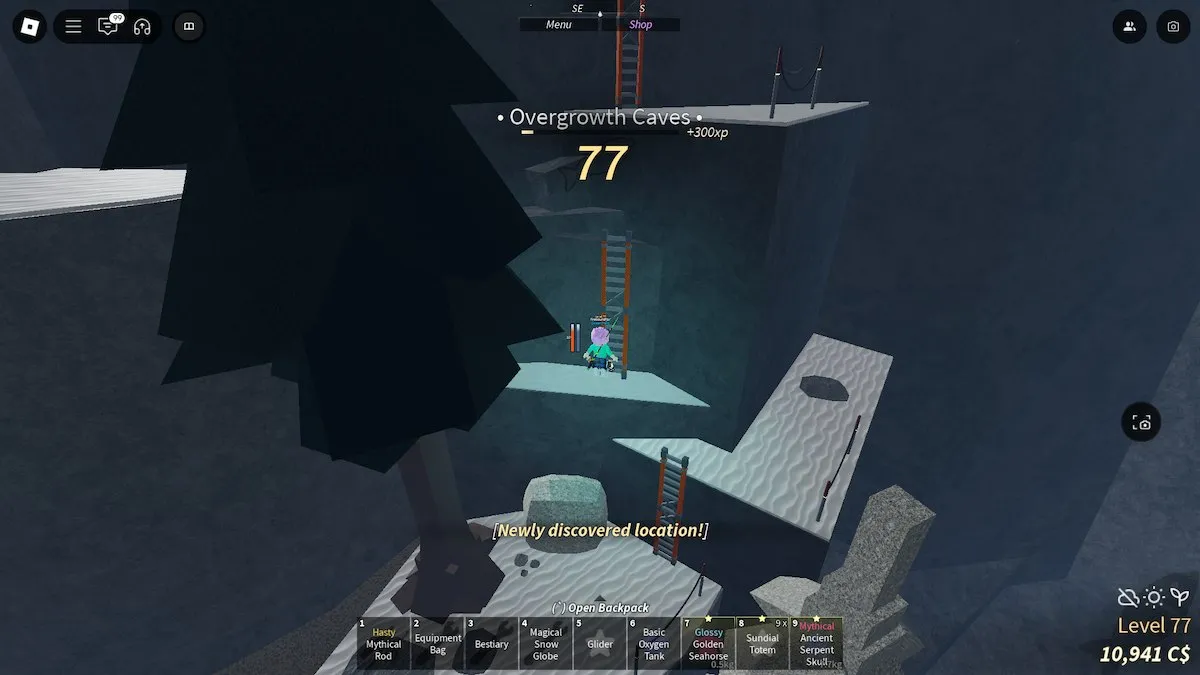
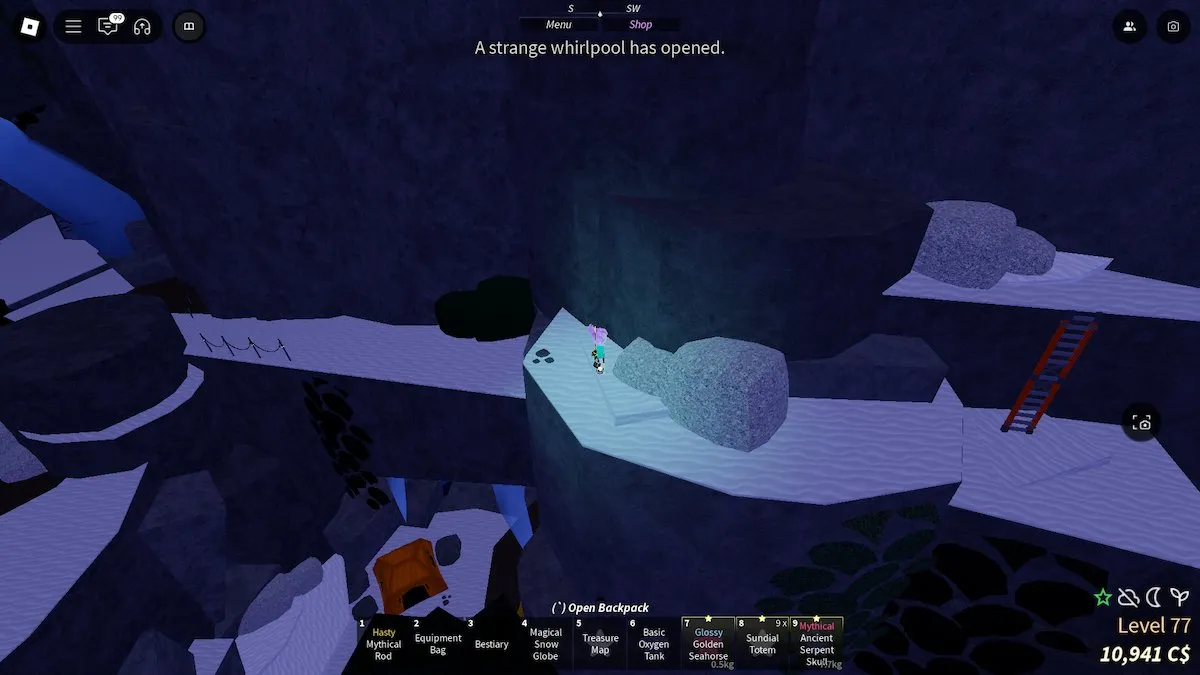
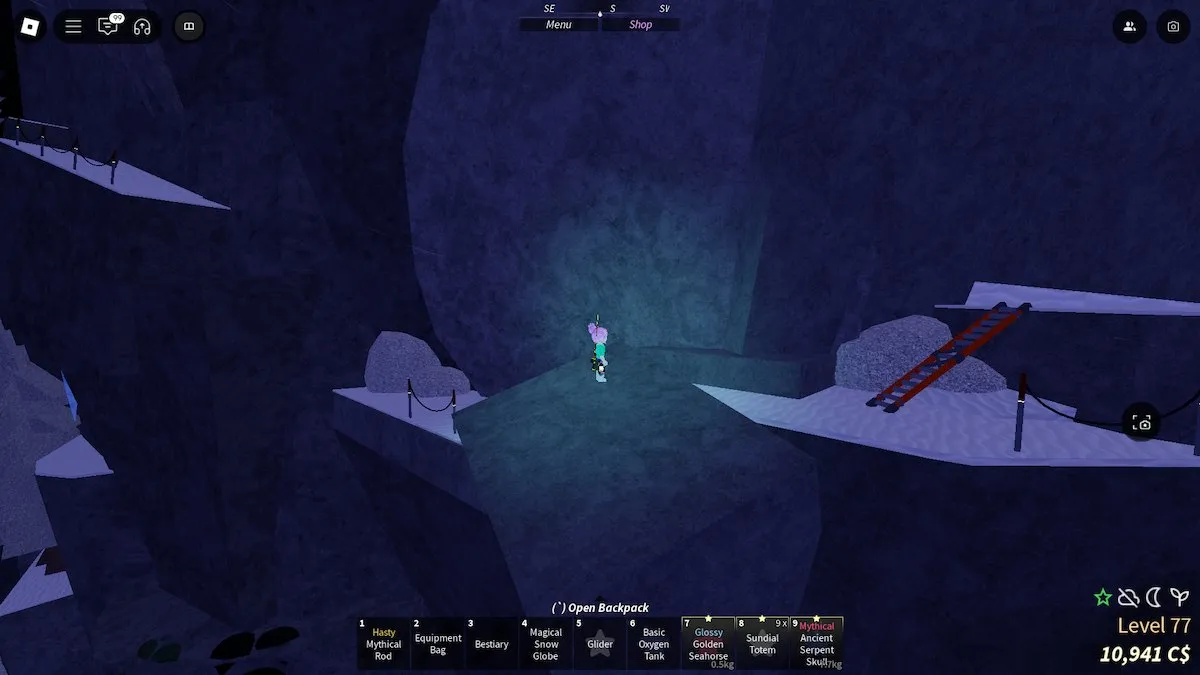
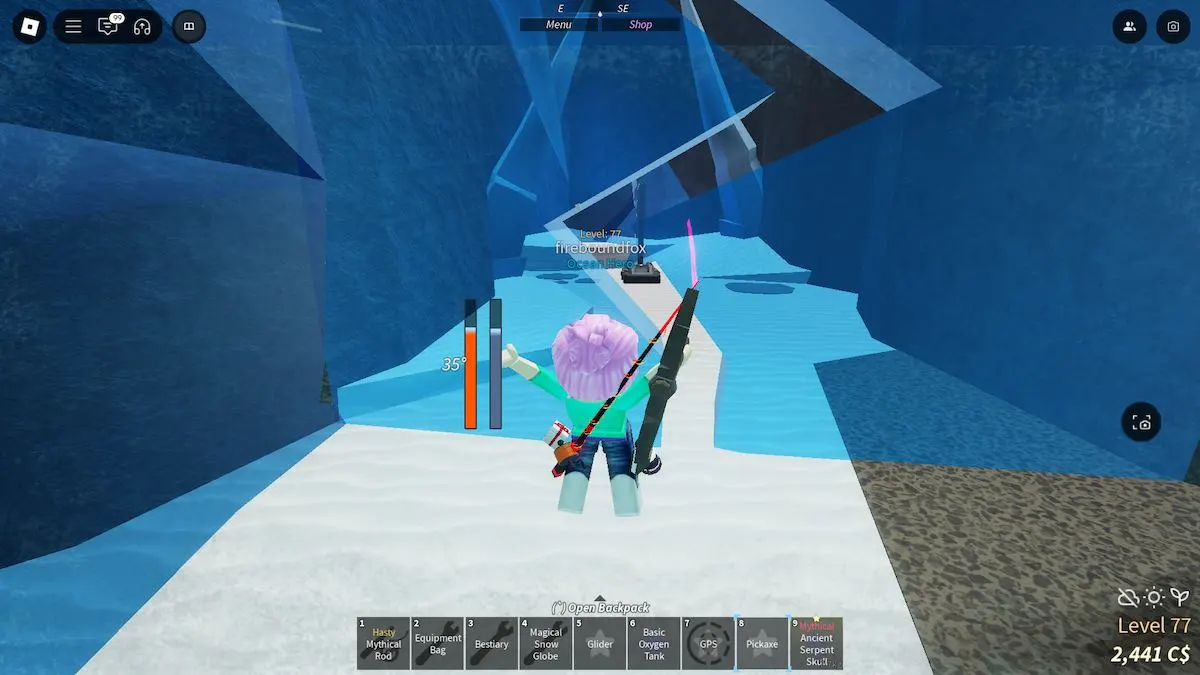
Around the corner of the mountain path, there's an actual gap that you'll need your Glider to cross. I advise turning your camera to look at the jump straight on so you can time it correctly. After the gap, there are a couple more ladders , and then you'll be alerted that you've entered the Overgrowth Caves .
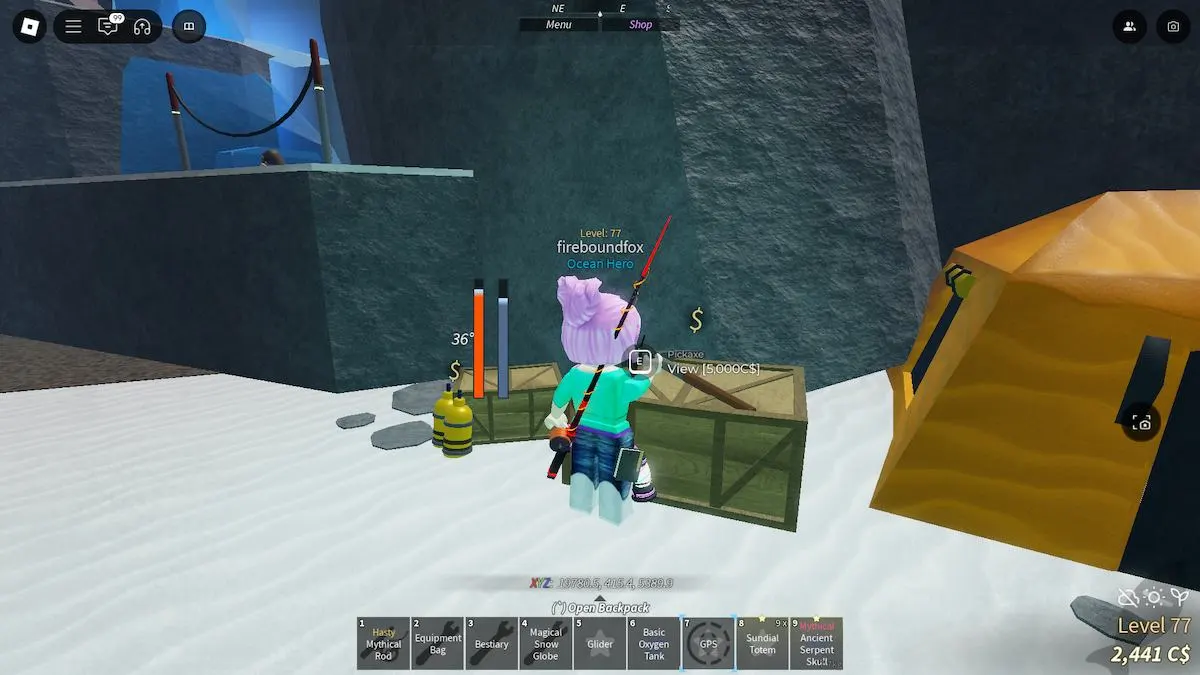
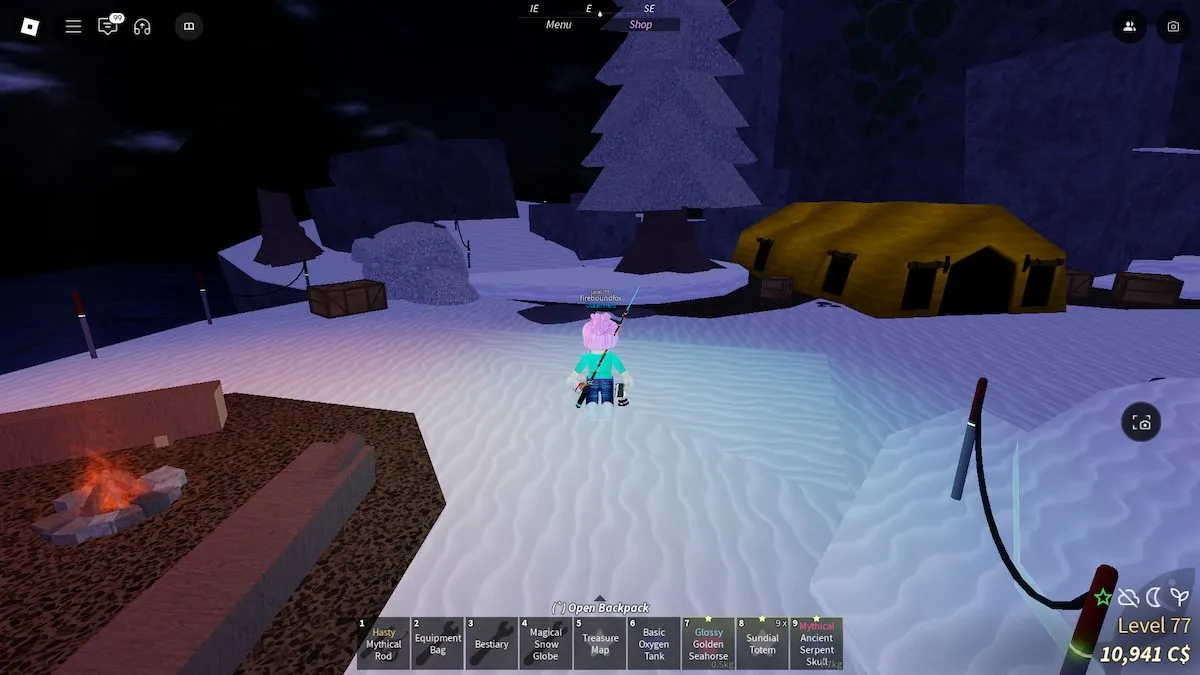
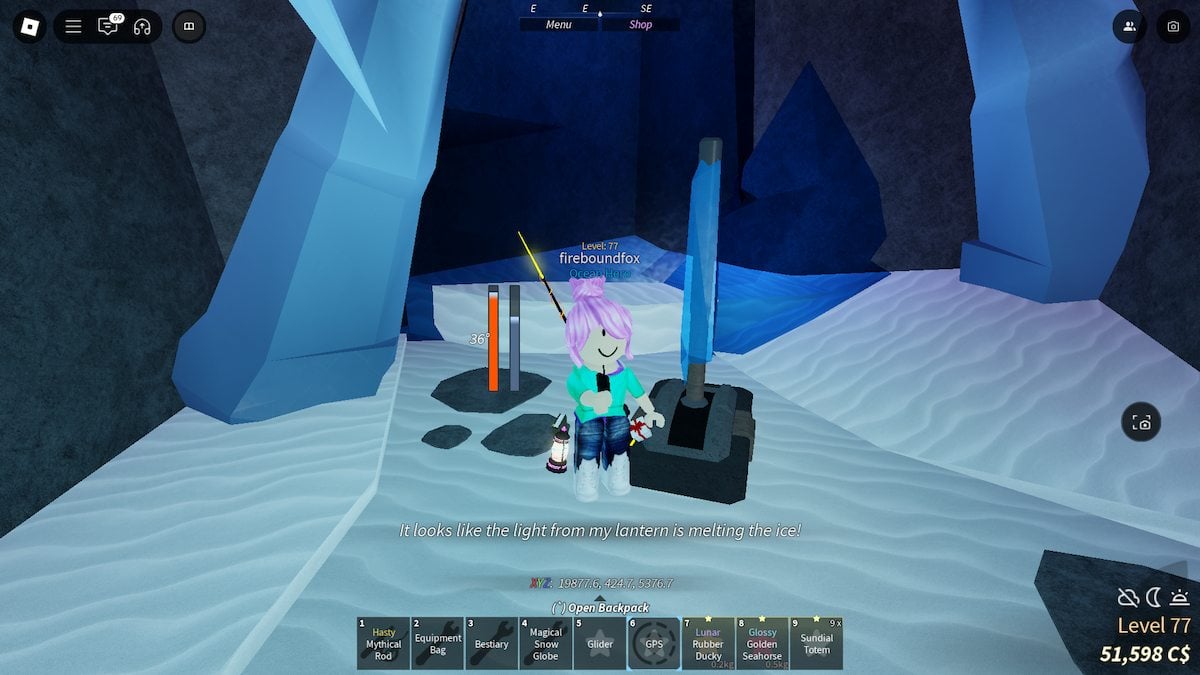
산의 왼쪽에는 5,000c $에 대한 삭제 , 3,000c $의 산소 탱크 업그레이드 및 유리 산소 리필이 있는 캠프가 있습니다. You also can't waste time in any area from here on out. You now have an Oxygen meter and a temperature meter . If either gets to zero, you'll die and respawn .
Head to the left of this camp and break the entrance to the cave with your new Pickaxe . The light from your lantern somehow melts the ice on a lever, which you can then interact with. This is one of six levers in the Northern Summit that you'll need to activate.
Head back to the clearing, refill your oxygen tank , and stand by the fire . 이것은 지속적으로 지역을 떠나는 것보다 미터를 리필하는 훨씬 빠른 방법입니다 (과잉 동굴로 이어지는 사다리 아래로 떨어지면 할 수 있습니다).
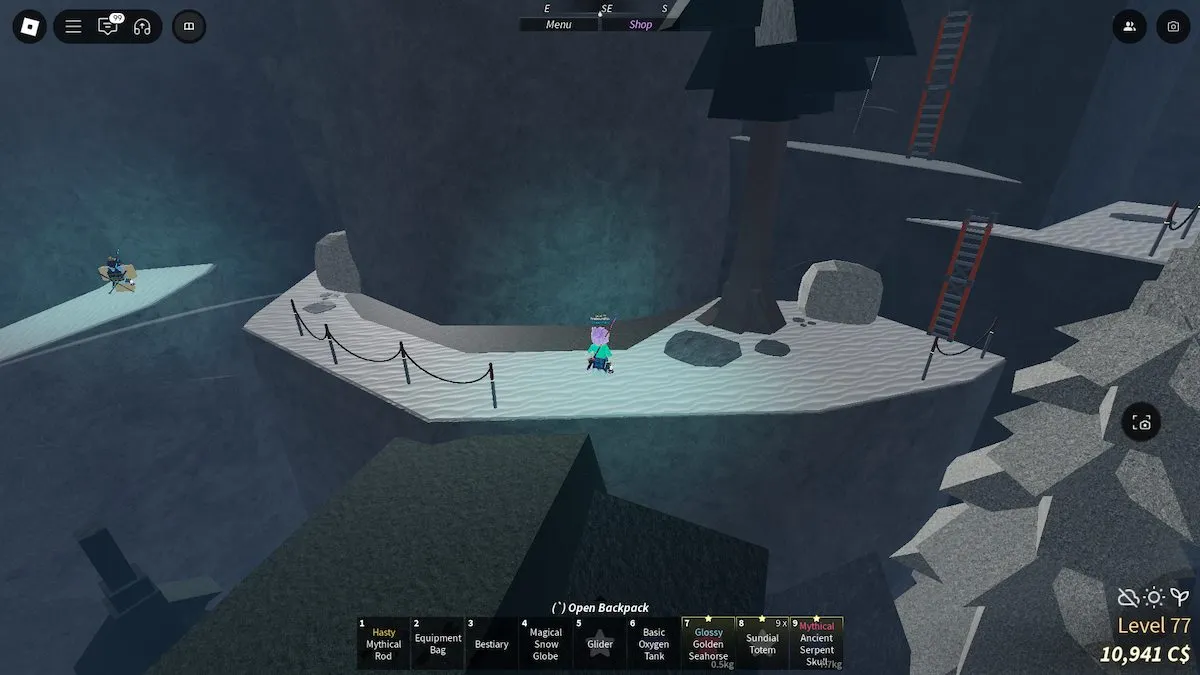
Go back to the entrance to the area, and take the path on the right using the ladder . Climb the rocks toward the cliff and use your Glider to cross the huge gap . Follow the path and the roped fences until you reach the next camp.
Here, you'll find an Intermediate Oxygen Tank , as well as the Summit Rod . Grab the tank and continue climbing. Take the ladders to the right to find an NPC selling the Winter Cloak for 7,500C$ . This shops your temperature meter from dropping.
Head back to the path and take the ramp to continue up the mountain .
The path will lead you to the Cryogenic Canal , which is the third area in the Northern Summit.
Come back later, we're still working on this .

Alongside the 36 fish added to Fisch with the Northern Expedition update, there are four new mutations.
| 돌연변이 | Value Multiplier |
|---|---|
| Blighted | x3 |
| Crystalized | x1.75 |
| 천국 같은 | x5 |
| 진눈깨비 | x2.4 |
| 물고기 | 희박 | 날씨 | Time of Day | 계절 | 미끼 |
|---|---|---|---|---|---|
| Icy Salmon | 드문 | 어느 | 낮 | 겨울 | 벌레 |
| Ice Anchovy | 드문 | 분명한 | 낮 | 겨울 | 벌레 |
| Icy Carp | 특이한 | 어느 | 어느 | 겨울 | 베이글 |
| Frigid Crab | 특이한 | 어느 | 어느 | 겨울 | Fish Head |
| Icy Goldfish | 희귀한 | 분명한 | 낮 | 겨울 | 플레이크 |
| Icy Tuna | 희귀한 | 어느 | 어느 | 겨울 | Fish Head |
| Frigid Antlers | 전설 | 어느 | 어느 | 겨울 | 없음 |
| Frozen Walnut | 신화 | 어느 | 어느 | 겨울 | 없음 |
| Glass Diamond | 신화 | 어느 | 어느 | 어느 | 없음 |
| 물고기 | 희박 | 날씨 | Time of Day | 계절 | 미끼 |
|---|---|---|---|---|---|
| Frigid Shrimp | 드문 | 어느 | 밤 | 겨울 | 플레이크 |
| Ice Eel | 드문 | 어느 | 밤 | 겨울 | 벌레 |
| Ice Jellyfish | 특이한 | 어느 | 어느 | 겨울 | 없음 |
| Ice Octopus | 특이한 | 어느 | 낮 | 겨울 | Fish Head |
| Snowfish | 희귀한 | 어느 | 어느 | 겨울 | Fish Head |
| Frozen Taco | 희귀한 | 어느 | 어느 | 겨울 | 없음 |
| Polar Alligator | 전설 | 어느 | 밤 | 겨울 | Fish Head |
| Frozen Mammoth Tusk | 신화 | 어느 | 어느 | 겨울 | 없음 |
| 물고기 | 희박 | 날씨 | Time of Day | 계절 | 미끼 |
|---|---|---|---|---|---|
| Snowflake Smelt | 드문 | 눈 | 낮 | 겨울 | 플레이크 |
| Frost Minnow | 드문 | 어느 | 낮 | 겨울 | 벌레 |
| Snowback Char | 특이한 | 어느 | 낮 | 겨울 | 곤충 |
| Iced Perch | 특이한 | 어느 | 어느 | 겨울 | 시시한 물건 |
| Icebreaker Haddock | 희귀한 | 어느 | 낮 | 겨울 | Fish Head |
| Frozen Pike | 희귀한 | 어느 | 어느 | 겨울 | Fish Head |
| Chillfin Herring | 희귀한 | 어느 | 낮 | 겨울 | Seaweed |
| Frostjaw Cod | 전설 | 어느 | 밤 | 겨울 | Fish Head |
| Aurora Trout | 신화 | 분명한 | 밤 | 겨울 | 트러플 웜 |
| Glacial Sturgeon | 신화 | 어느 | 밤 | 겨울 | 트러플 웜 |
| 물고기 | 희박 | 날씨 | Time of Day | 계절 | 미끼 |
|---|---|---|---|---|---|
| Frostling Goby | 드문 | 어느 | 낮 | 겨울 | 곤충 |
| Snowgill Dace | 드문 | 어느 | 낮 | 겨울 | 벌레 |
| Icy Walleye | 특이한 | 어느 | 밤 | 겨울 | 시시한 물건 |
| Chillback Whitefish | 특이한 | 어느 | 어느 | 겨울 | 벌레 |
| Glacier Swordfish | 희귀한 | 어느 | 어느 | 겨울 | Fish Head |
| Frostbite Flounder | 희귀한 | 어느 | 어느 | 겨울 | 오징어 |
| Icefang Barracuda | 희귀한 | 어느 | 어느 | 겨울 | Fish Head |
| Shiverfin Haddock | 희귀한 | 어느 | 낮 | 겨울 | Fish Head |
| Borealis Snapper | 전설 | 분명한 | 밤 | 겨울 | Fish Head |
| Icebeard Shark | 신화 | 어느 | 밤 | 겨울 | 트러플 웜 |
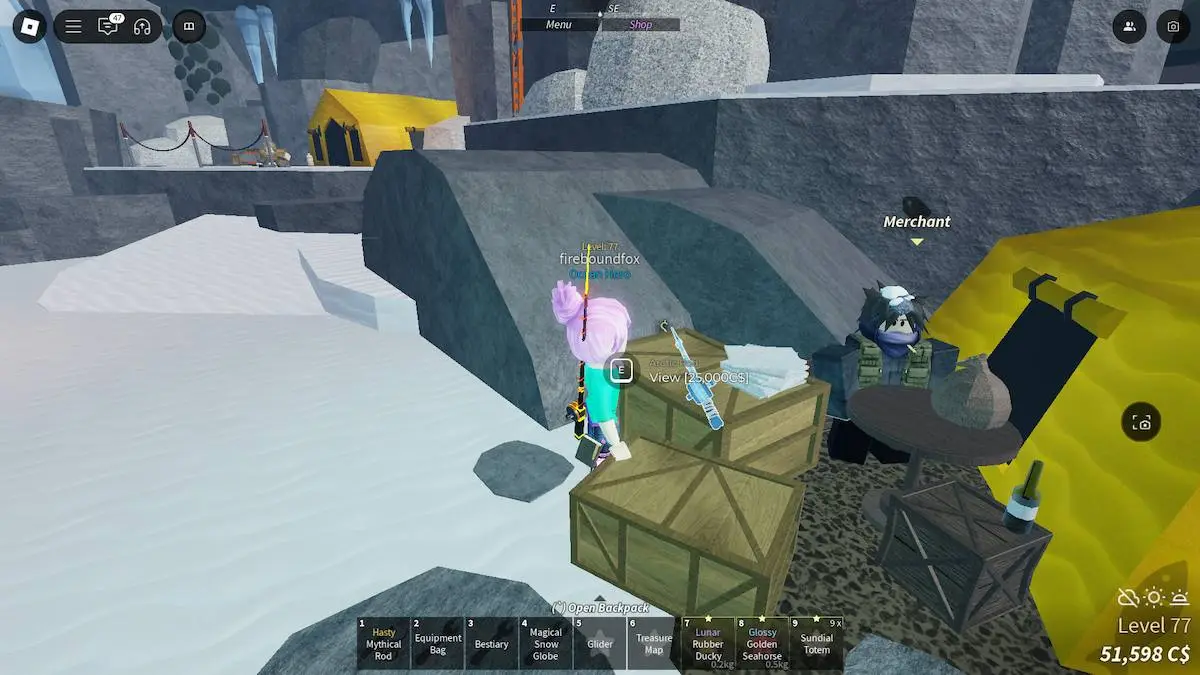
The first rod in the Northern Summit. The Arctic Rod is available from the table next to the Merchant NPC when you first step onto the island. It was glitched when the update first dropped, but you should be able to purchase it now.
| 통계 | 값 |
|---|---|
| 비용 | 25,000C$ |
| 유혹 속도 | 45% |
| 운 | 65% |
| 제어 | 0.18 |
| 회복력 | 15% |
| Max Weight in Kg | 80,000kg |
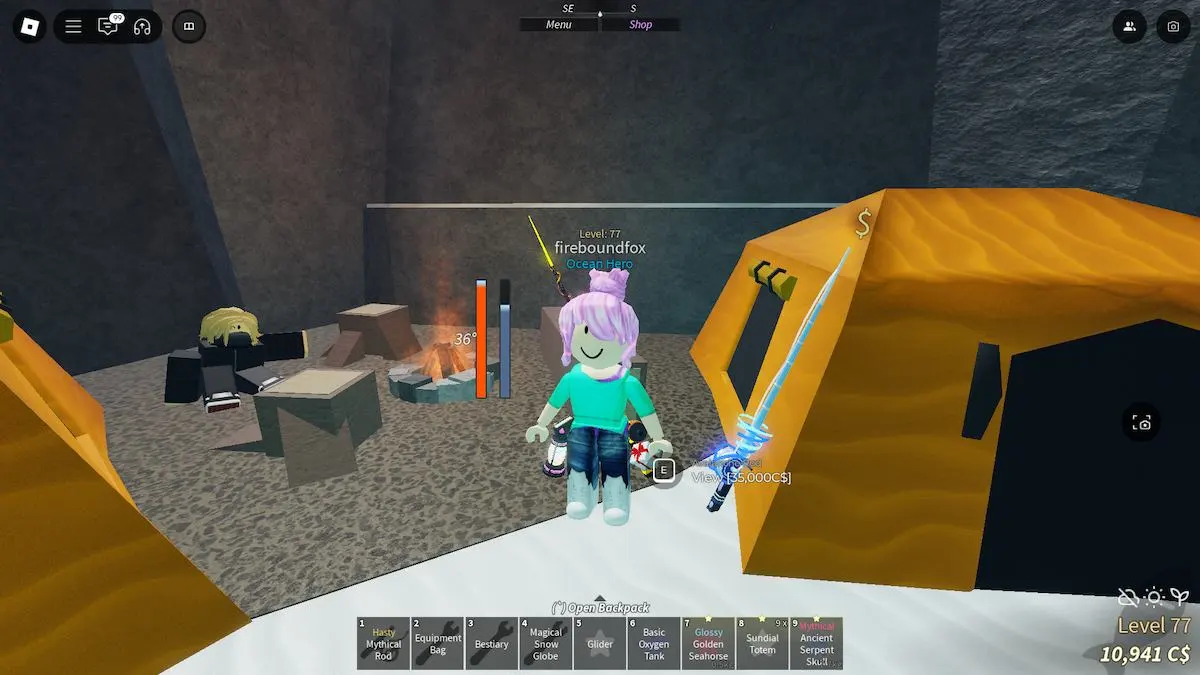
The Avalanche Rod is the second rod you can find in the Northern Summit. It can be purchased at the camp near the Overgrowth Cave entrance at coordinates (19771, 415, 5415) . It's leaning up against a tent on the right of the Pickaxe.
| 통계 | 값 |
|---|---|
| 비용 | 35,000C$ |
| 유혹 속도 | 40% |
| 운 | 68% |
| 제어 | 0.15 |
| 회복력 | 10% |
| Max Weight in Kg | 65,000kg |

The Crystalized Rod requires teamwork to unlock. You'll need a friend/another player and a Glass Diamond each . 유리 다이아몬드는 등반을 시작하기 전에 북부 정상 회의 첫 지역 (20296, 272, 5463) 에서 연못에서 쉽게 낚시질 수 있습니다. I used a Mythical Rod and caught three in a few minutes.
바닥에서 북부 정상 회담을 따라 오른쪽으로 가서 오른쪽 으로 가서 자란 동굴을 치고 글라이더를 사용하여 길의 거대한 간격을 넘어 서십시오 . Once you're over the gap, follow the path straight (you should see blue crystals sticking up in the distance). Keep walking until you reach that area, and drop down into it. You'll see a large, blue, icy crystal in the center of the area. This is the crystal encasing the Crystalized Rod.
결정화 된 막대를 둘러싸고있는 큰 크리스탈을 발견하면, 당신과 다른 플레이어는 유리 다이아몬드를 들고있는 동안 결정의 양쪽의 압력판을 밟아야합니다. The light reflecting through both crystals melts the ice, revealing the Rod.
| 통계 | 값 |
|---|---|
| 비용 | 35,000C$ |
| 유혹 속도 | 35% |
| 운 | 45% |
| 제어 | 0.15 |
| 회복력 | 15% |
| Max Weight in Kg | 25,000kg |
To get the Ice Warpers Rod, you need to pull all six levers in the Northern Summit. Once you do this, the rod will fall from the sky at rest at the location of the sixth lever . If you're struggling to find these locations, scroll to the very bottom of this guide for GPS coordinates.
| 통계 | 값 |
|---|---|
| 비용 | 65,000C$ |
| 유혹 속도 | 50% |
| 운 | 60% |
| 제어 | 0.15 |
| 회복력 | 20% |
| Max Weight in Kg | 75,000kg |
Follow the path up the mountain on Northern Summit island. 서밋로드는 냉담한 동굴 지역의 꼭대기에있는 북극 망토 와 같은 캠프장에 위치하고 있습니다 (동굴을 통과하여 캠프장까지 길을 올라갑니다). You can find it on top of a crate next to an orange tent at coordinates (TBC) .
| 통계 | 값 |
|---|---|
| 비용 | 300,000C$ |
| 유혹 속도 | 15% |
| 운 | 75% |
| 제어 | 0.25 |
| 회복력 | 15% |
| Max Weight in Kg | 200,000kg |
Only obtainable when you find all four Energy Crystals in the Northern Summit and place them in the altar at the top of the mountain. You can find the Energy Crystal locations in this guide (scroll down past the Totems section). The GPS coordinates for this location are (19977, 917, 5375) .
| 통계 | 값 |
|---|---|
| 비용 | 1,750,000C$ |
| 유혹 속도 | 27% |
| 운 | 225% |
| 제어 | 0.2 |
| 회복력 | 30% |
| Max Weight in Kg | 무한 |
| 토템 | 위치 | 비용 | 효과 | 용법 |
|---|---|---|---|---|
| Avalanche Totem | Behind a large rock formation at coordinates (19710, 467, 6058) on Northern Summit island. 산의 길에서 거대한 틈새를 날아간 후에는 길을 따라 계속 지내면 다리 옆에있는 오른쪽에 암석이 나타납니다. Go around the back to find the totem. | 150,000C$ | Triggers an Avalanche on the island. | Essential for obtaining the Yellow Energy Crystal to unlock Heaven's Rod. |
| Blizzard Totem | Hidden on a ledge on Northern Summit island, behind the dark orange tent on the left side of the camp where you get the Summit Rod at (TBC) . Requires a Glider to get to. | 275,000C$ | Causes Snow. | TBC |
At the very top of the Northern Summit is an altar - at coordinates (19977, 917, 5375) . Here, you'll need to place four Energy Crystals to unlock the Heaven's Rod . Getting all four is a bit of a challenge, though.
| 결정 | Location/How to Get |
|---|---|
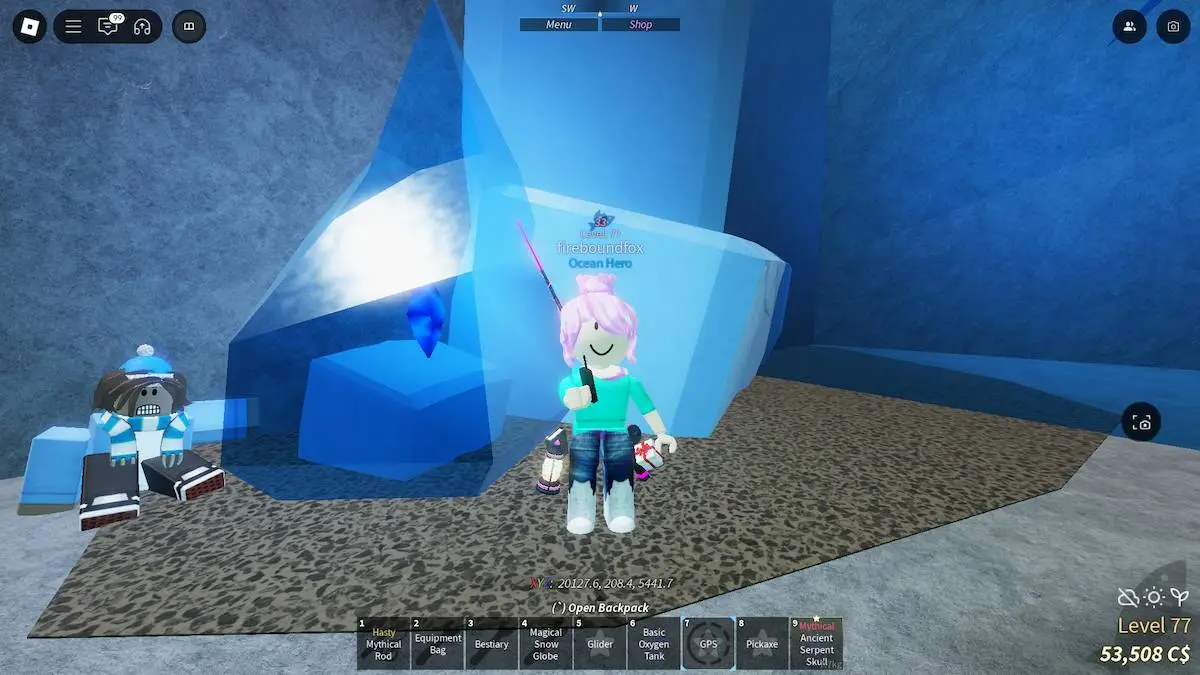
| Blue Energy Crystal | Found in the first cave near the second campsite . Use your pickaxe to free it from the ice. Coordinates (20126, 211, 5449) . |
| Green Energy Crystal | 과도한 동굴 의 입구에서 (곡예를 가지고 캠프장으로 왼쪽으로 갈 수있는 곳이나 산을 계속 향할 수있는 오른쪽) 중간으로 똑바로 내려갑니다. You'll find an NPC on the left side of the ice cave , standing on a ledge. Talk to them. Coordinates (19873, 448, 5557) . |
| Yellow Energy Crystal | Found during an Avalanche. Go to coordinates (19503, 335, 5535) and use an Avalanche Totem to cause one instead of waiting. |
| Red Energy Crystal | 이 위치로 이동하여 여기에서 찾을 수있는 버튼과 상호 작용하십시오. Moosewood 의 상단 C $ 리더 보드 뒤에 고대 섬 의 석재 막대 옆, Forsaken Shores Watch Tower , Roslit Bay (1717, 148, 732)의 통나무 오른쪽, Snowcap Island의 Snowcap 에있는 가로등 기둥 뒤에 있습니다. Then, talk to the Hiker standing by the altar at the top of the Northern Summit. He'll charge you 250,000C$ for the Red Energy Crystal. |
The levers are used to unlock the Ice Warpers Rod in Fisch.
| 결정 | 위치 |
|---|---|
| Lever 1 | Coordinates (19871.4, 424.7, 5376.7) Northwest part of the Northern Summit. On the left side of the camp at the beginning of the Overgrowth Caves area (where you buy your Pickaxe), there's a lever behind a wall of ice . Use your Pickaxe to break through the ice, and wait by the frozen lever for your lantern to melt the ice encasing it. |
| Lever 2 | Coordinates (19448.5,690.1, 5863.6) Southwest part of the Northern Summit. The lever is near the Crystalized rod puzzle. |
| Lever 3 | Coordinates (19588.9, 543.3, 5619.3) West part of the Northern Summit. The lever is near the bridge that connects both mountains. |
| Lever 4 | Coordinates (19857.8,474.4,4960) North part of the Northern Summit. There's a mountain near the northwest lever's cave - go above the camp there and glide down to find the lever. |
| Lever 5 | Coordinates (20198, 854.4, 5656) East part of the Northern Summit. Climb up the arch near the camp that has the Summit Rod to find the lever. |
| Lever 6 | Coordinates (19950.1,586.9,5560.9) Once you pull the lever here, stay put. The Ice Warpers Rod will fall down to the same location that the lever is found. |
Looking for more Fisch guides at Pro Game Guides? Check out How to get Oxygen Tank in Fisch – Beginner, Intermediate & Advanced and How to get the Winter Cloak in Fisch.